Ok - So my first entry took a little longer after dealing with a very nasty cold but here it is.....
This craft challenge is a combo of Pinterest and Joann craft store inspired. I saw so many wonderful blankets on Pinterest for babies and with several upcoming baby showers, I wondered how could I cut/sew all those blankets and having a short window of time and a LO who is petrified of the sewing machine noise.
Enter Joann's.
While strolling down the aisles- more like running after a small child, I came across these No-Sew kits. They seemed quick and manageable, but I wasn't crazy about some of the print combos and none of the kits were very baby-ish. So I went to the counter and asked the sales person how much I would need. And it goes a little something like this:
1. The average size blanket I have seen for the No-sew style is 1-1/2 yards. You can go longer for a teen or adult but the following is for a finished size of about 1-1/2 yards. I got two yards of no-pill fleece which were on sale. Apparently the word on the street is that Joann's has the fleece on sale quite often so if you can wait or score a coupon, then hold off until then. I got one adorable print and then one solid fleece to match.
2. Match both pieces together and make sure that they are equal sizes. If by chance one of the fleeces is a little larger than the other, then trim the excess. It's best to use a rotary cutter as the cuts come out looking a little cleaner than with scissors or shears. Oh- one more super duper extremely important part. NOW is the time to make sure that you have the right side of the print facing out.. You don't want to get stuck halfway through your blanket and realize that the wrong side is facing out. Not that this happened to me or anything (but if you happen to do this then it isn't the end of the world just an extra hour of work).
3. Cut 7" squares at each of the corners of the blanket. It's easy if you have a Right angle ruler or possibly a t- square.
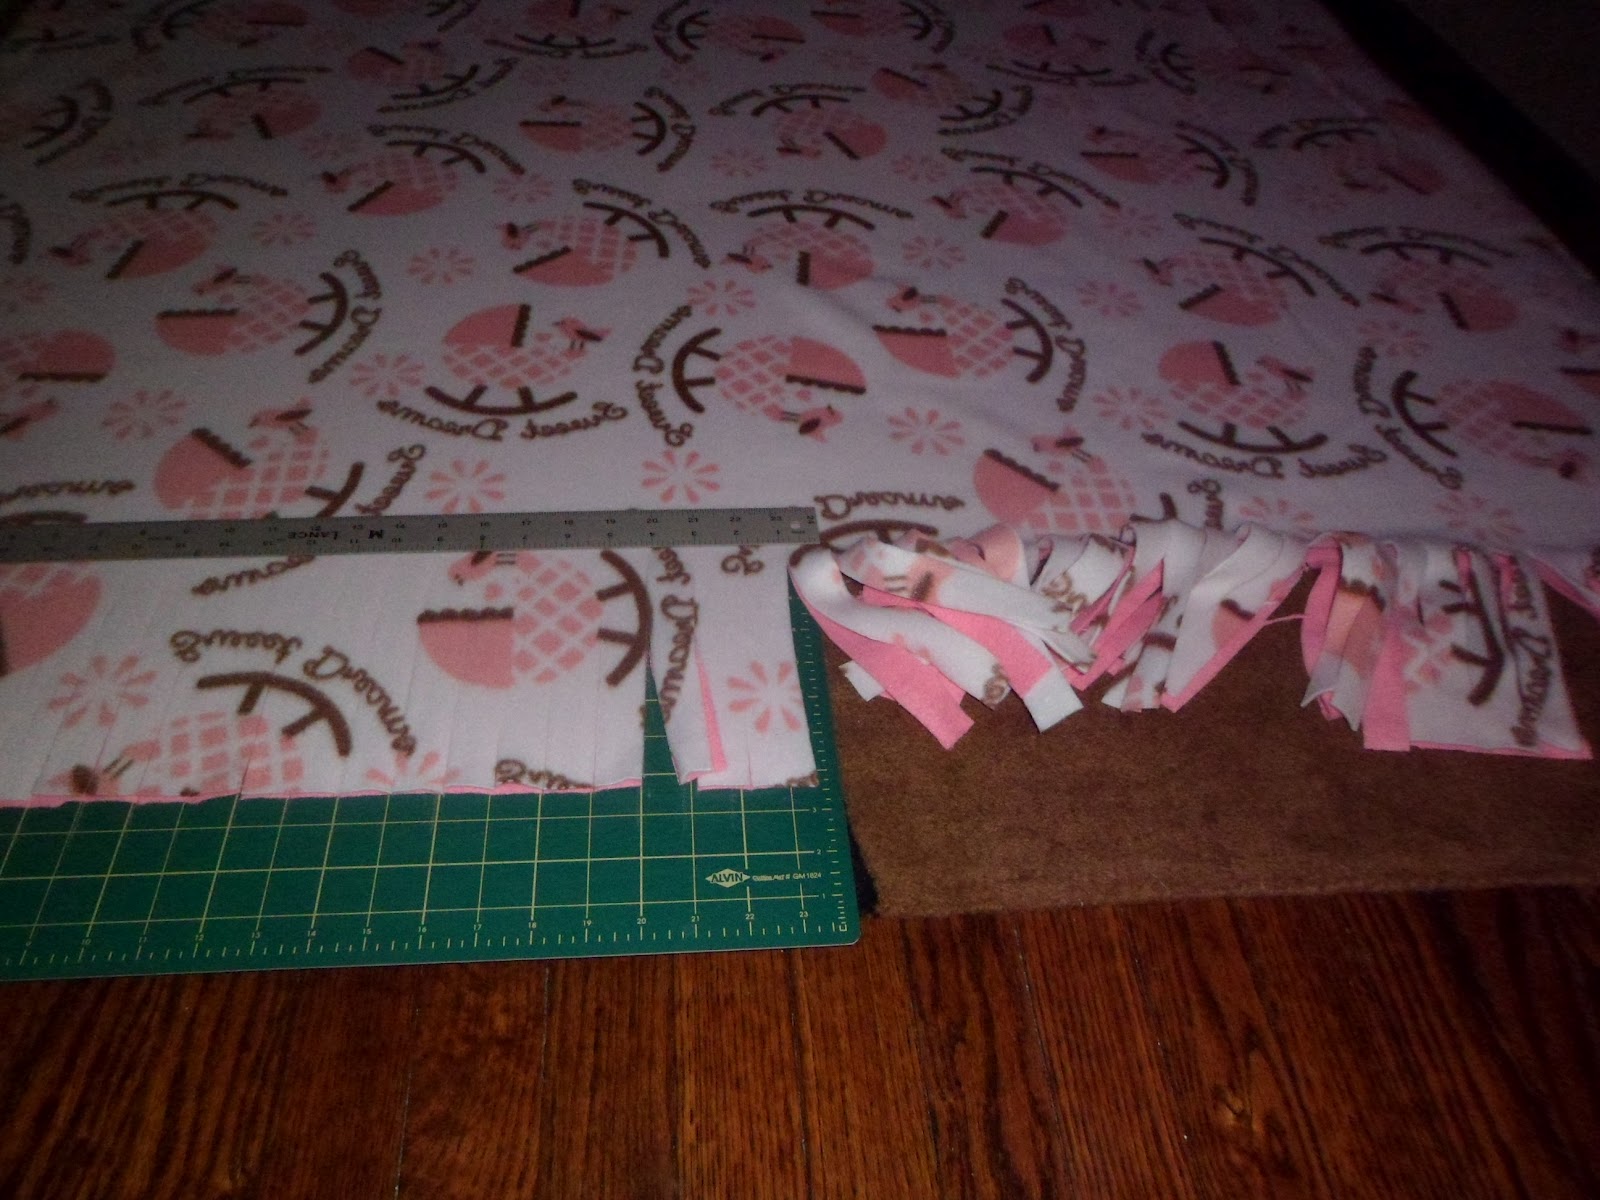
4. Beginning on one side of the blanket, cut 1" wide strips along each edge of the blanket. I found using two rulers really helped me on this one. One ruler to guide me so I didn't cut past the 7" mark and one ruler laying perpendicular so I could measure out 1" wide for the strip. I used both rotary cutter and fabric scissors for this and the lines came out much better with the rotary.
5. Now there are two methods for knotting the fringe together. One is to double knot the two pieces of fleece. Or my personal favorite method is to take both pieces, create a loop and pulls both ends through, then pull gently so the knot it at the top. You dont want to pull too hard but tight enough so its secure. It creates a much more uniform look. Both ways take about the same amount of time. Do this all the way around.
The first time I did one of these blankets, it took me a few hours. But after that, it got easier and easier and now about two hours on average. I even break it up and start it one night and get to the point where two sides are knotted and fold up and then unfold, straighten the pieces out and finish the next night. I'm sure you could even embroider one side with a name or an appliqué. I haven't gotten that advanced though but personalizing it adds to the wow factor especially for your non-crafty friends.
So here's the finished product:
Thanks all for tuning in....I hope to have my next challenge up very soon!!!!